ABDOMINAL PARACENTESIS – Purpose, Articles, Procedure and After Care of Patient – A Simple Nursing Procedure
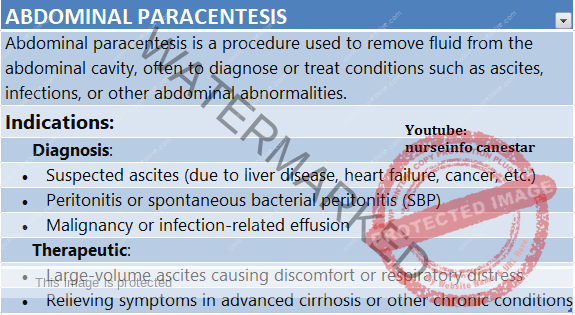
Abdominal paracentesis is the removal of fluid from the peritoneal cavity. Like pleural cavity, the peritoneal cavity is also formed by two layers of serous membranes – the visceral layer surrounding the abdominal organs and a parietal layer lining the abdominal cavity. Normally, the peritoneal cavity is only a potential cavity separated by a thin film of serous fluid to lubricate the surfaces of peritoneum and prevent friction. In healthy body, the fluid formed in the peritoneal cavity is absorbed into the lymph circulation through the lymph vessels in the peritoneum. In disease processes, fluid accumulates within this cavity and cause ascites. Methods of treatment include restriction of sodium intake, administration of diuretics and occasionally an abdominal paracentesis.
Purpose of Abdominal Paracentesis
1. To relieve pressure on the abdominal and chest organs if a transudate collects as a result of renal, cardiac or liver diseases.
2. To study chemical, bacteriological and cellular composition of the peritoneal fluid for the diagnosis of diseases.
3. To drain an exudates in peritonitis.
4. To remove fluid and instill air to create artificial pneumoperitoneum as a treatment for pulmonary tuberculosis affecting the base of the lungs.
Site and Positioning of the Client for an Abdominal Paracentesis
The primary object of selecting a site is to avoid injury to the urinary bladder and other abdominal organs. A common site is the midway between the symphysis pubis and the umbilicus on the midline. An another site may be a point two-third along a line from the umbilicus to the anterior superior iliac spine.
The client is positioned in Fowler’s position supported by back rest and pillows near the edge of the bed
Complication
1. Hypovolaemia leading to shock and collapse.
2. Infection (peritonitis)
3. Injury to the blood vessels and other abdominal organs.
4. Renal failure due to reduced systemic circulation
5. Hypoprotenaemia as a result of repeated tapping.
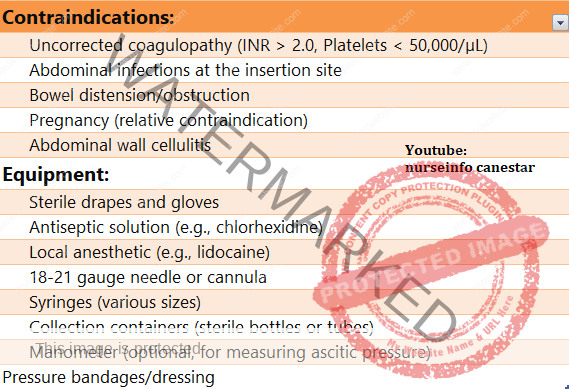
Preparation of Articles
A covered sterile tray containing:
1. Sponge holding forceps to clean the skin
2. Syringe (5 ml) with needles to give local anaesthesia
3. Syringe (20 ml) with leur lock for aspiration of fluid
4. Three-way adaptor and tubing
5. Trocar and cannula or aspiration needles
6. B.P. handle with blades to make a small skin incision for the introduction of trocar and cannula.
7. Suturing needles (if incision is made)
8. Small bowls to take cleaning lotions
9. Dissecting forceps – toothed 1, non toothed 1
10. Specimen bottles
11. Sterile dressing towels or slits
12. Cotton balls, guaze pieces, and cotton pads
13. Gloves, gown and mask
An unsterile tray containing:
1. Mackintosh and towels
2. Kidney tray and paper bag
3. Spirit, iodine, tr. Benzoin etc
4. Lignocaine 2 percent
5. Apron for the doctor
6. Drainage receptacle to collect the fluid
7. Pint measures to measure the fluid
8. Low stool to raise the drainage receptacle and adjust the height
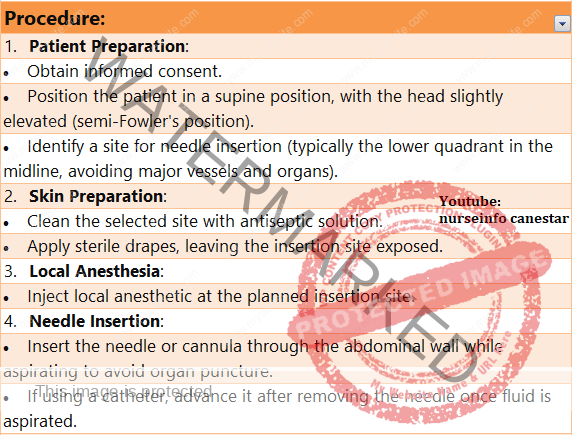
PROCEDURE
The abdominal paracentesis is done under strict aseptic techniques. If it is done for diagnostic purposes, the fluid withdrawn by a large syringe may be sufficient. If the procedure is done for relieving pressure symptoms, a trocar and cannula are used. After giving a local anaesthesia, a small skin incision is made at the site selected and the trocar and cannula are introduced. After the trocar and cannula are in position the trocar is removed and the cannula is attached to the tubing that reaches the drainage receptacle. Occasionally, a soft catheter is passed through the cannula into the peritoneal cavity for the removal of fluid. After enough fluid is withdrawn, the cannula is removed and opening is sealed.
GENERAL INSTRUCTIONS
1. Give adequate explanations to win the confidence and co-operation of the client. Client’s co-operation is very necessary, for the prevention of injury to the adjacent organs.
2. Strict aseptic technique should be followed to prevent introduction of infection into the peritoneal cavity.
3. Ask the client to void 5 minutes before the procedure to prevent injury to the bladder. Catheterize the client if any doubt exists.
4. Keep the client warm and comfortable to prevent chills.
5. Be prepared to treat shock. Shock can be prevented by :
a. Withdrawing the fluid slowly. Apply clamps on the tubing.
b. Withdrawing small quantity of fluid at a time
c. Applying pressure on the abdomen with many tailed bandage and tightening it from above downwards as the fluid is drained.
d. Keeping the client warm
e. Observing the vital signs continuously during the procedure.
6. The drainage receptacle should be raised on the stool. The greater the vertical distance between the tapping needle and the end of the tubing in the drainage receptacle, the greater is the pull on the fluid in the cavity and more quickly the cavity is drained and the client may go into a state of shock.
7. Use a tapping needle/trocar of smaller gauge possible. This will reduce the puncture wound as small as possible and thereby reduce the chances of fluid leaking from the peritoneal cavity after the procedure is over.
8. The flow of fluid can be controlled by the application of clamps on the tubing.
9. The nurse should remain with the client throughout the procedure to observe the client’s general condition. Changes in colour, pulse, respiration, blood pressure etc. should be noted and reported to the doctor immediately. These are the indications that the client is going into vascular shock and collapse.
10. Repeated aspirations of the ascitic fluid result in hypoproteinaemia. The client should be given plasma proteins if he develops such a condition.
11. The wound should be sealed immediately after the procedure to prevent infection and leakage of peritoneal fluid.
12. The specimens collected should be sent to the laboratory without delay. The usual test that are carried out are specific gravity, cell count, bacterial count, protein concentration, culture, acid fast stain. In most disorders, the fluid is clear and straw colored. Turbidity suggests infection. Sanguineous fluid usually signals neoplasm or tuberculosis. The rare milky (chylous) fluid is due to lymphoma. A protein concentration of less than 3gm/100 ml suggests liver diseases or a systemic disorder; a higher protein content suggests an exudative cause such as tumor or an infection.
Preparation of the Client
1. Explain the procedure to the client and his relatives to obtain their understanding, co-operation and acceptance of the treatment.
2. Get a written consent from the client or his relatives.
3. Prepare the skin as for a surgical procedure.
4. Record the blood pressure, pulse, respiration and weight of the client on the nurse’s record before sending the client to the operation room. This may be used to compare the similar data obtained during or after the procedure and to determine the effect of the procedure on the client.
5. Empty the bladder just before the procedure to prevent injury to the distended bladder. When there is doubt, catheterize the bladder.
6. Protect the client from chills by keeping him warm. Cover the client with a blanket. Close the windows and doors to prevent draught. Put off the fan.
7. Change the client’s garments with hospital dress. Put on loose gowns. The upper garments may be pinned up to prevent its falling over the abdomen during the procedure.
8. Bring the client to the edge of the bed to prevent over reaching. Place him in a Fowler’s position supported with a back rest and pillows.
9. Maintain privacy with screens and drapes. Drape the client exposing the abdomen only.
10. Protect the bedding with a mackintosh and towel.
11. Place a many tailed bandage under the client to apply over the abdomen during the procedure in order to maintain the intra-abdominal pressure. This will help to prevent shock and collapse as the fluid is drained from the abdominal cavity.
12.The nurse should remain with the client throughout the procedure encouraging him to co-operate and diverting his attention away from the procedure. She should note the color, pulse, respiration and blood pressure during the procedure to detect the early signs of shock and collapse.
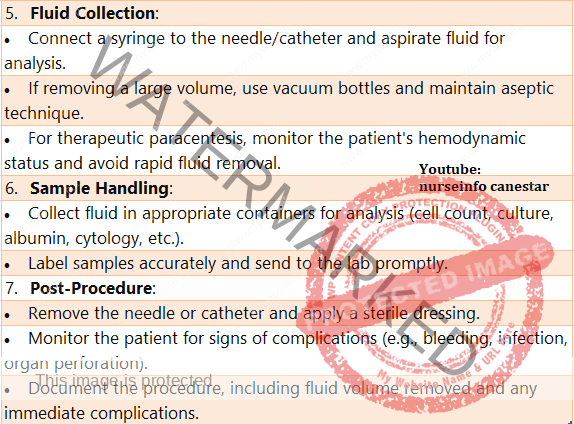
After Care of the Client
1. As soon as the needle is removed, a sterile dressing and a pressure bandage is applied at the puncture site to prevent leakage of fluid.
2. The abdominal bandage is tightened to maintain intra-abdominal pressure.
3. Check the client’s general condition after the procedure. Any change in the color, pulse, respiration and blood pressure should be reported immediately. The vital signs are checked half hourly for two hours; then hourly for 4 hours followed by 4 hourly for 24 hours.
4. The specimen collected should be sent to the laboratory with labels and requisition form.
5. Examine the dressing at the puncture site frequently for any leakage. Re-enforce the dressing if leakage is present.
6. Serum proteins are estimated to detect hypoproteinaemia. If hypoproteinaemia is present, plasma proteins are administered.
7. Record the procedure on the nurse’s record with date and time. Note the amount and character of the fluid drained, its color, effects of treatment on the client (both desired and undesired effects) and the general condition of the client during and after the treatment.
8. Clean all the articles used. Wash with cold water and then with warm soapy water and rinse them in clean water. Dry and send for autoclavi